A Homeowner's Guide to Navigating Storm Damage Insurance Claims
The winds have died down and the hail has stopped, but the aftermath of a strong storm can leave you with a new kind of stress. Discovering your roof has been damaged is overwhelming, and the thought of navigating a complex insurance claim can feel just as daunting. Here in the Cape Girardeau area, we're no strangers to a tough storm season, and many homeowners find themselves wondering where to even begin. The process can be filled with confusing terms, paperwork, and uncertainty.
But it doesn’t have to be a headache. With a clear understanding of the process and a trusted local partner on your side, you can manage your claim with confidence and ensure your home gets the quality repair it deserves. This guide will walk you through the essential steps, from initial damage assessment to working with your insurance adjuster, so you can feel empowered and protected.
Step 1: Immediate Actions After the Storm
Once the storm has passed and it's safe to go outside, your first priority is to assess and document the situation. Your actions in these initial hours are crucial for a smooth insurance claim process.
- Safety First: Before you do anything else, ensure the area around your home is safe. Look for downed power lines, broken glass, or unstable tree limbs. Do not climb on your roof, especially if it’s wet or appears structurally compromised.
- Document Everything: This is the most critical step. Using your smartphone, take extensive photos and videos of the damage from the ground. Capture images of hailstones (with a ruler or coin for scale), dented gutters and siding, and any visible damage to your shingles. Take wide shots of each side of your roof and close-ups of specific problem areas. The more evidence you have, the stronger your claim will be.
- Mitigate Further Damage: If you have an active leak, take steps to prevent further water damage inside your home. This might involve placing buckets to catch drips or, if you can do so safely, covering a damaged area with a tarp. Most insurance policies require you to take reasonable steps to prevent additional damage. Keep receipts for any materials you purchase for temporary repairs.
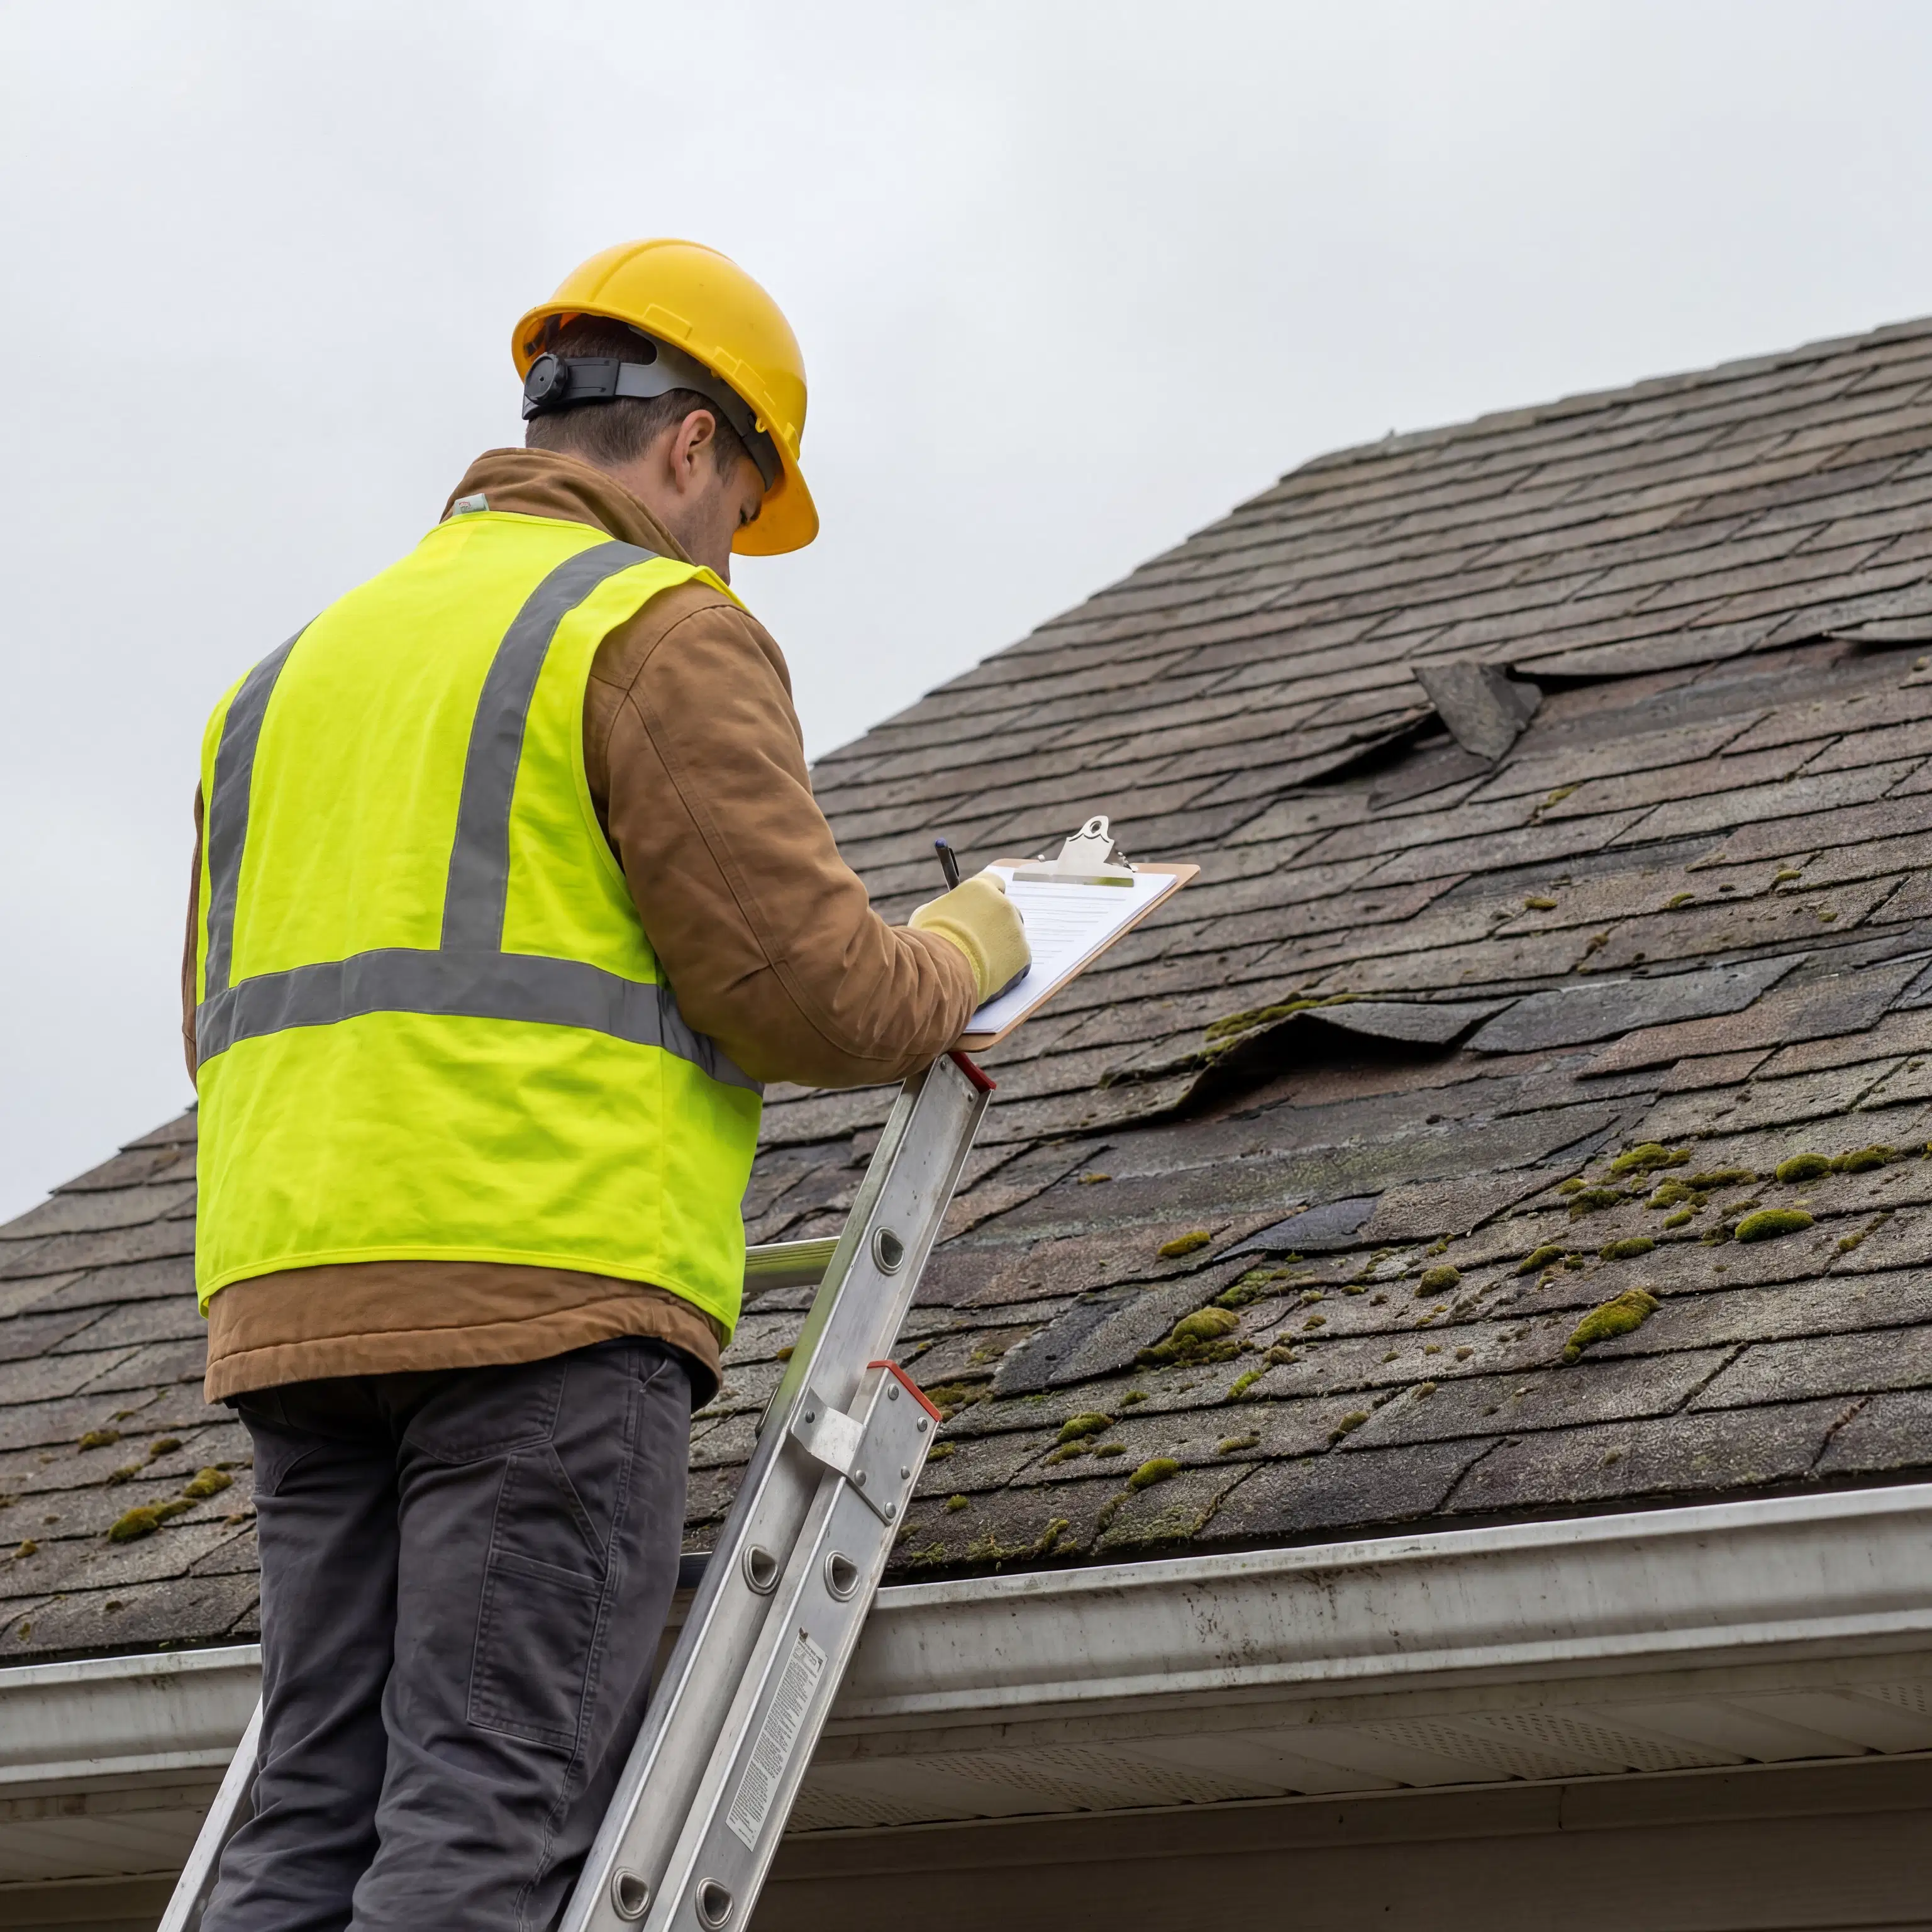
Step 2: Get a Professional Roof Inspection Before You Call
It might seem logical to call your insurance company first, but we recommend a different approach: schedule a professional roof inspection with a reputable local contractor. Here’s why this is so important:
An experienced roofer knows exactly what to look for. Hail damage, for instance, can be subtle and easily missed by an untrained eye. A professional can identify bruised, cracked, or missing shingles and wind-lifted seals that could lead to future leaks. This detailed assessment provides you with a complete picture of the damage.
At Reliable Exteriors, we provide a thorough, documented inspection report. This report, complete with photos and detailed notes, serves as a powerful piece of evidence when you file your claim. It ensures that all damage is accounted for from the very beginning, preventing the need for a supplemental claim later on. Having this professional validation helps legitimize your claim and sets a clear scope for the necessary roof damage repair.
Step 3: Understanding Key Insurance Terms
Once you file your claim, you'll encounter some specific terminology. Understanding these terms will help you navigate the adjuster's report and the entire process.
- Deductible: This is the amount you are responsible for paying out-of-pocket before your insurance coverage begins. This amount is fixed and will be deducted from your final claim settlement.
- ACV (Actual Cash Value): This is the value of your roof at the time of the damage. It’s calculated by taking the replacement cost and subtracting depreciation due to age and wear. The first check you receive from your insurer is often for the ACV amount, minus your deductible.
- RCV (Replacement Cost Value): This is the total cost to replace your damaged roof with new materials of similar kind and quality, without deducting for depreciation.
- Recoverable Depreciation: This is the difference between RCV and ACV. After the roofing work is completed and you submit the final invoice to your insurance company, they will release this remaining amount to you.
- Supplement: If your insurance adjuster’s initial estimate misses necessary items—such as code-required upgrades (like new flashing or ice-and-water shield), specific materials, or labor costs—your contractor can submit a supplement to the insurance company to request additional funds to cover the full scope of the work.
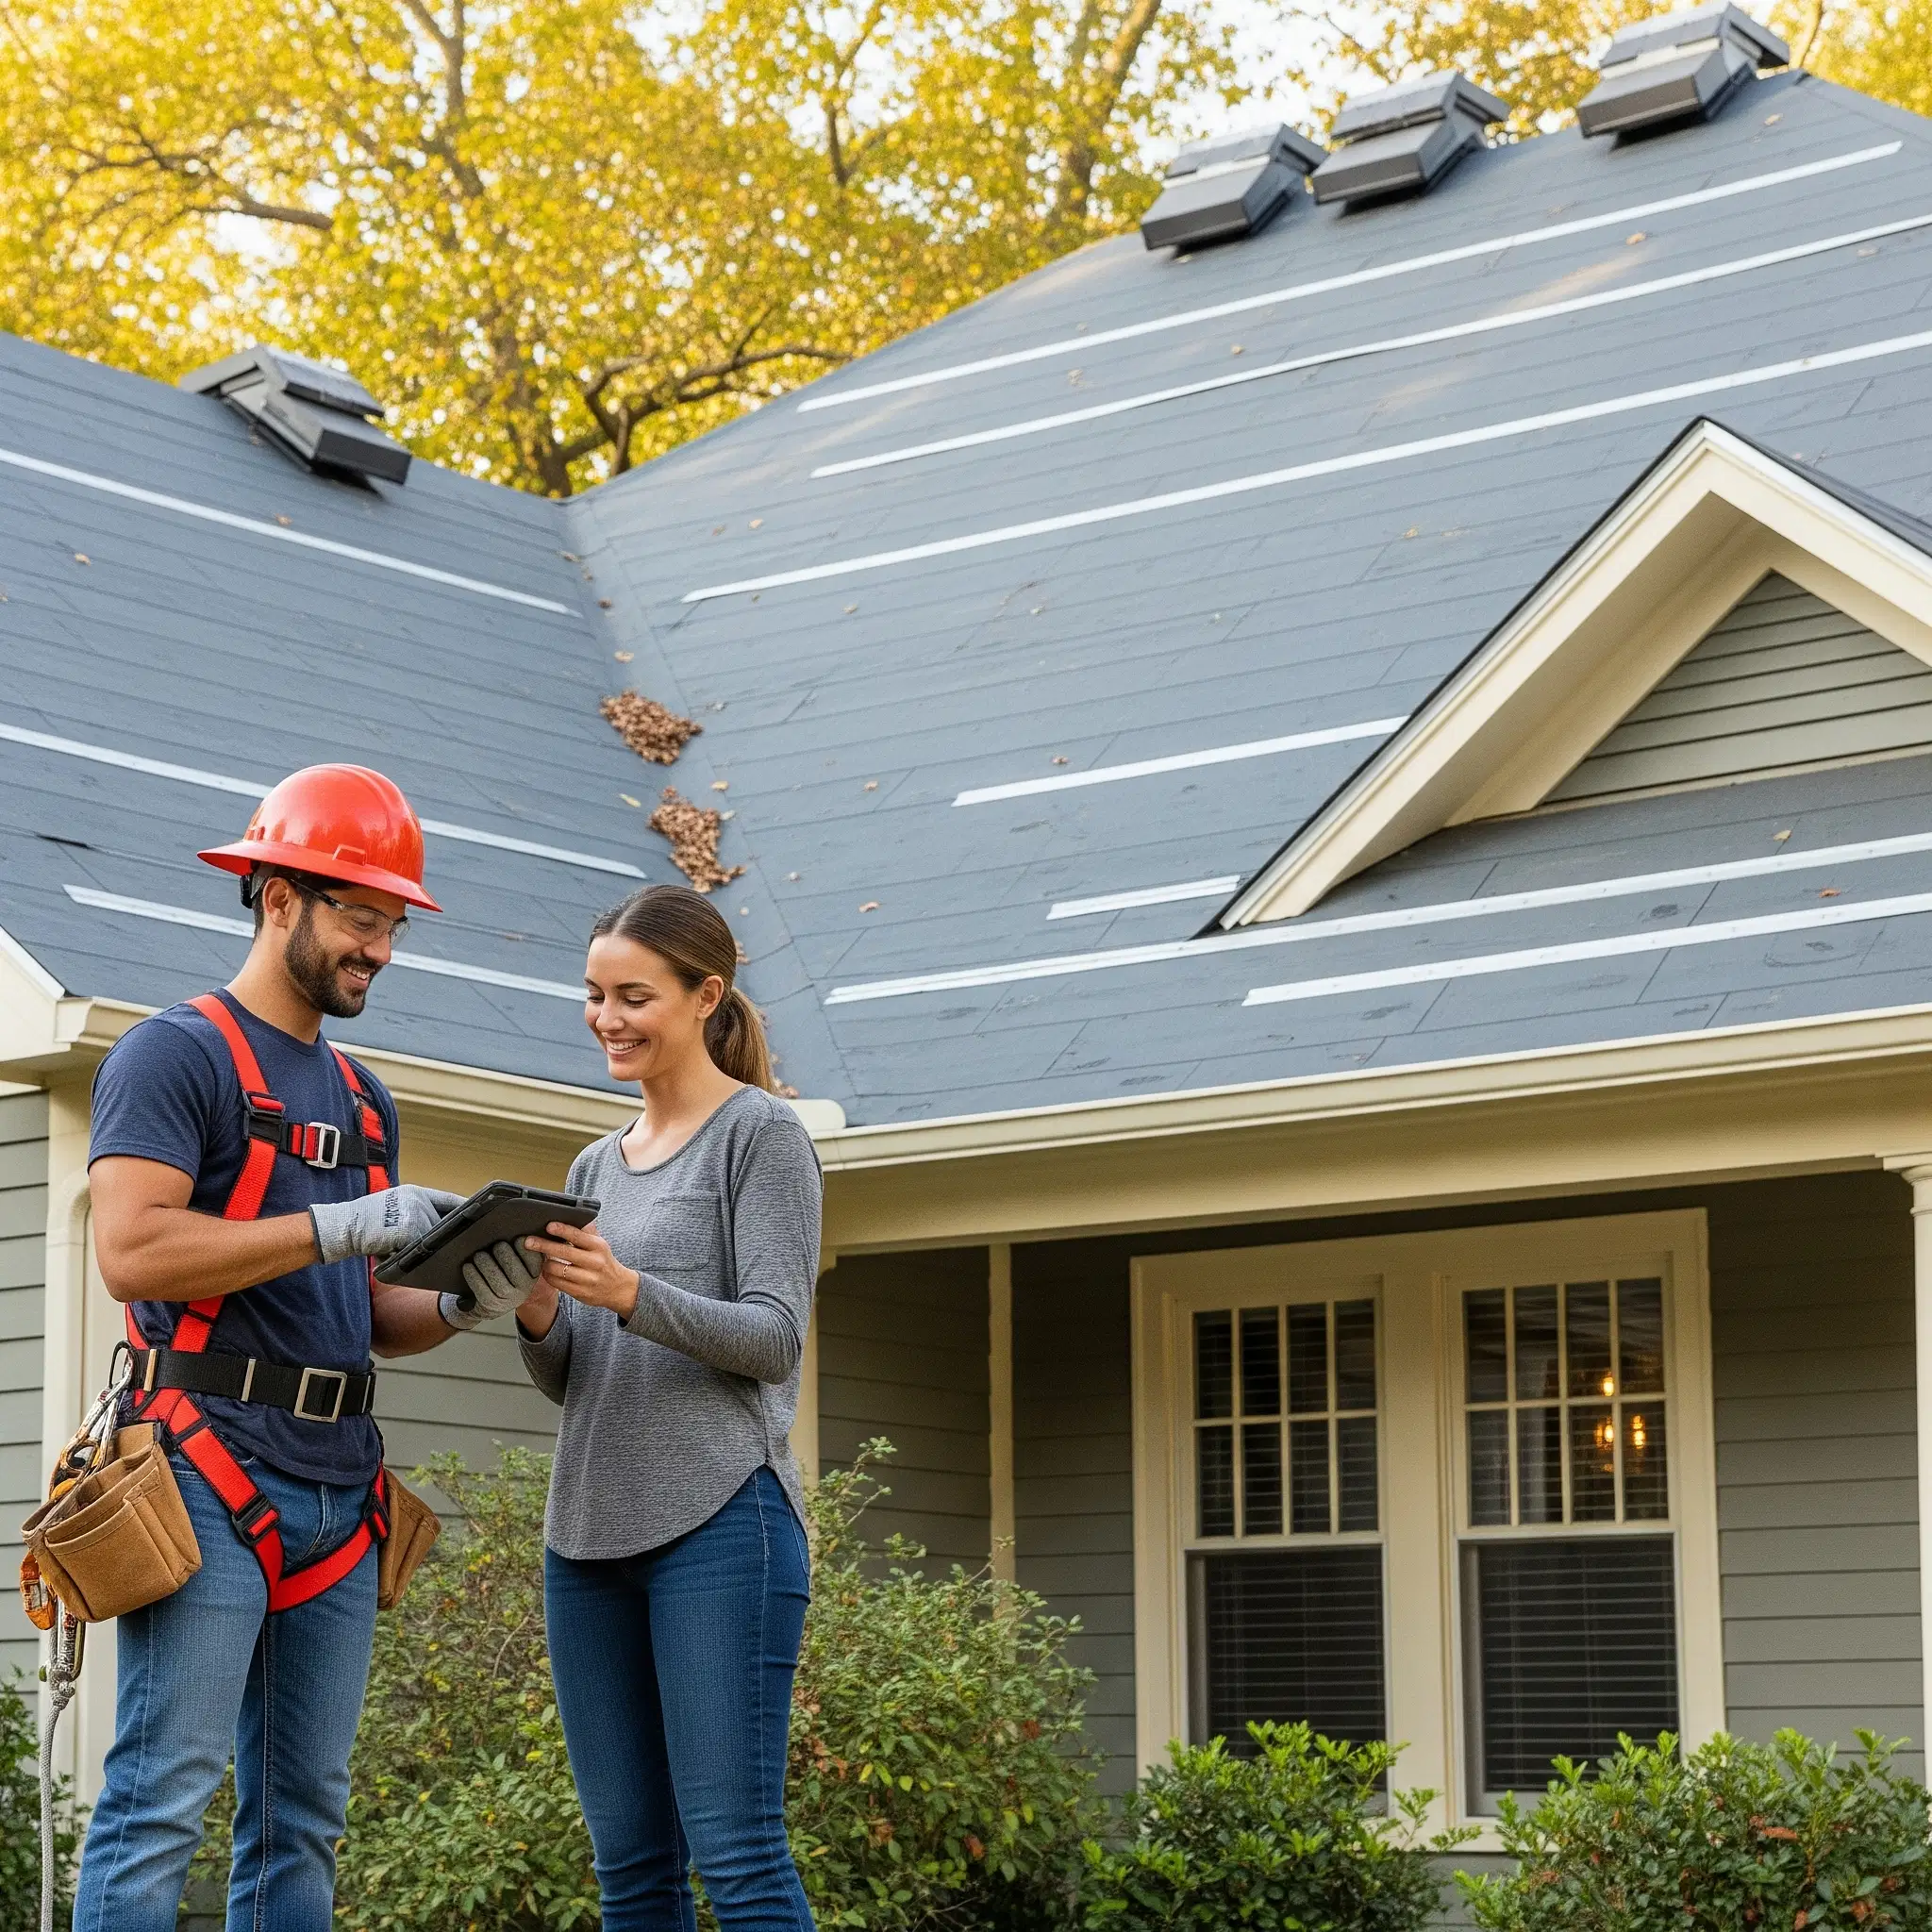
Step 4: Working with the Adjuster and Choosing Your Contractor
Your insurance company will send an adjuster to inspect the damage. We highly recommend having your chosen roofing contractor present for this meeting. Your roofer can act as your advocate, pointing out specific damage the adjuster might overlook and ensuring the scope of work is accurately assessed based on local building codes and industry best practices.
It's important to remember that you have the right to choose your own contractor. You are not obligated to use a company recommended by your insurance provider. Your priority should be to select a licensed, insured, and trusted local company with a strong reputation for quality workmanship. Unlike 'storm chasers' who appear after a weather event and may disappear just as quickly, a local contractor will be here to stand by their work and honor their warranties for years to come. This ensures peace of mind and protects your investment in your residential roofing system.
Your Partner in Storm Recovery
Dealing with storm damage is never easy, but you don't have to go through it alone. By taking swift action to document damage, getting a professional inspection, and understanding the key components of your claim, you can navigate the process effectively. Partnering with an experienced and trustworthy local roofer is the best way to protect your interests and ensure your home is restored correctly.
If your home in the Cape Girardeau area has been affected by a recent storm, don't wait for a small problem to become a major one. Contact Reliable Exteriors today for a free, no-obligation roof inspection. We'll help you understand the extent of the damage and provide the expert guidance you need to move forward with your insurance claim. Let us help you restore your peace of mind and the safety of your home. Get in touch with our team today!